CineScope

Sleepy Eyes of Death 6: Sword of Satan

Sleepy Eyes of Death 6: Sword of Satan Poster

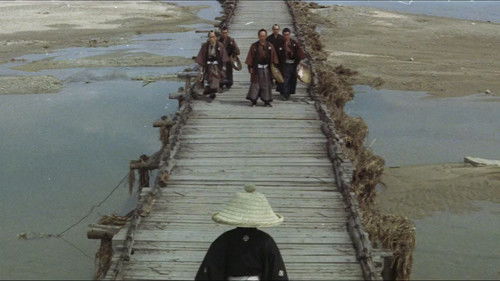
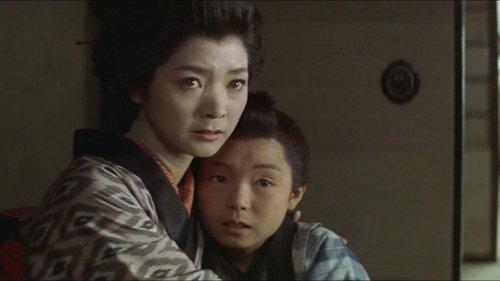
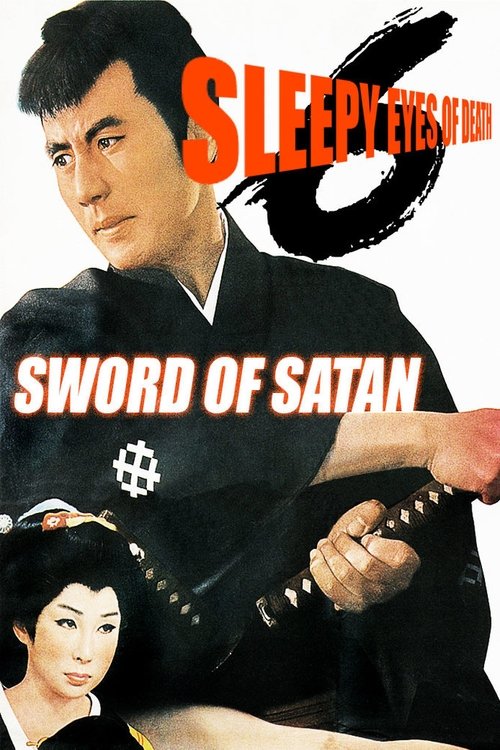
Sixth film in the series. A little boy who just wants to be a carpenter is at the center of a plot that might topple -- or save -- a mighty Clan, and while the swords of some angry samurai may not cause Kyoshiro much trouble, the deadly wiles of two women may be more difficult to survive!

ActionDrama

3.1 / 5

Release Date: 30th April 1965
Director
Kimiyoshi Yasuda
Top Cast
Raizō IchikawaMichiko SagaMachiko Hasegawa
Watch Providers 🇬🇧
Currently no watch providers
Production Companies
+1 more
Sleepy Eyes of Death Collection
Sleepy Eyes of Death 1: The Chinese Jade Image

Sleepy Eyes of Death 1: The Chinese Jade

Sleepy Eyes of Death 2: Sword of Adventure Image

Sleepy Eyes of Death 2: Sword of Adventure

Sleepy Eyes of Death 3: Full Circle Killing Image

Sleepy Eyes of Death 3: Full Circle Killing

Sleepy Eyes of Death 4: Sword of Seduction Image

Sleepy Eyes of Death 4: Sword of Seduction

Sleepy Eyes of Death 5: Sword of Fire Image

Sleepy Eyes of Death 5: Sword of Fire

Sleepy Eyes of Death 6: Sword of Satan Image

Sleepy Eyes of Death 6: Sword of Satan

Sleepy Eyes of Death 7: The Mask of the Princess Image

Sleepy Eyes of Death 7: The Mask of the Princess

Sleepy Eyes of Death 8: Sword of Villainy Image

Sleepy Eyes of Death 8: Sword of Villainy

Sleepy Eyes of Death 9: Trail of Traps Image

Sleepy Eyes of Death 9: Trail of Traps

Sleepy Eyes of Death 10: Hell Is a Woman Image

Sleepy Eyes of Death 10: Hell Is a Woman

Sleepy Eyes of Death 11: In the Spider's Lair Image

Sleepy Eyes of Death 11: In the Spider's Lair

Sleepy Eyes of Death 12: Castle Menagerie Image

Sleepy Eyes of Death 12: Castle Menagerie

Sleepy Eyes of Death 13: The Full Moon Swordsman Image

Sleepy Eyes of Death 13: The Full Moon Swordsman

Sleepy Eyes of Death 14: Fylfot Swordplay Image

Sleepy Eyes of Death 14: Fylfot Swordplay

Image 0
Image 1
Image 2
Image 3
Image 4
Image 5
Image 6
Image 7
Image 8
Image 9
Image 10
Image 11
Image 12
Image 13
Image 14
Image 15
Image 16
Image 17